
The Project
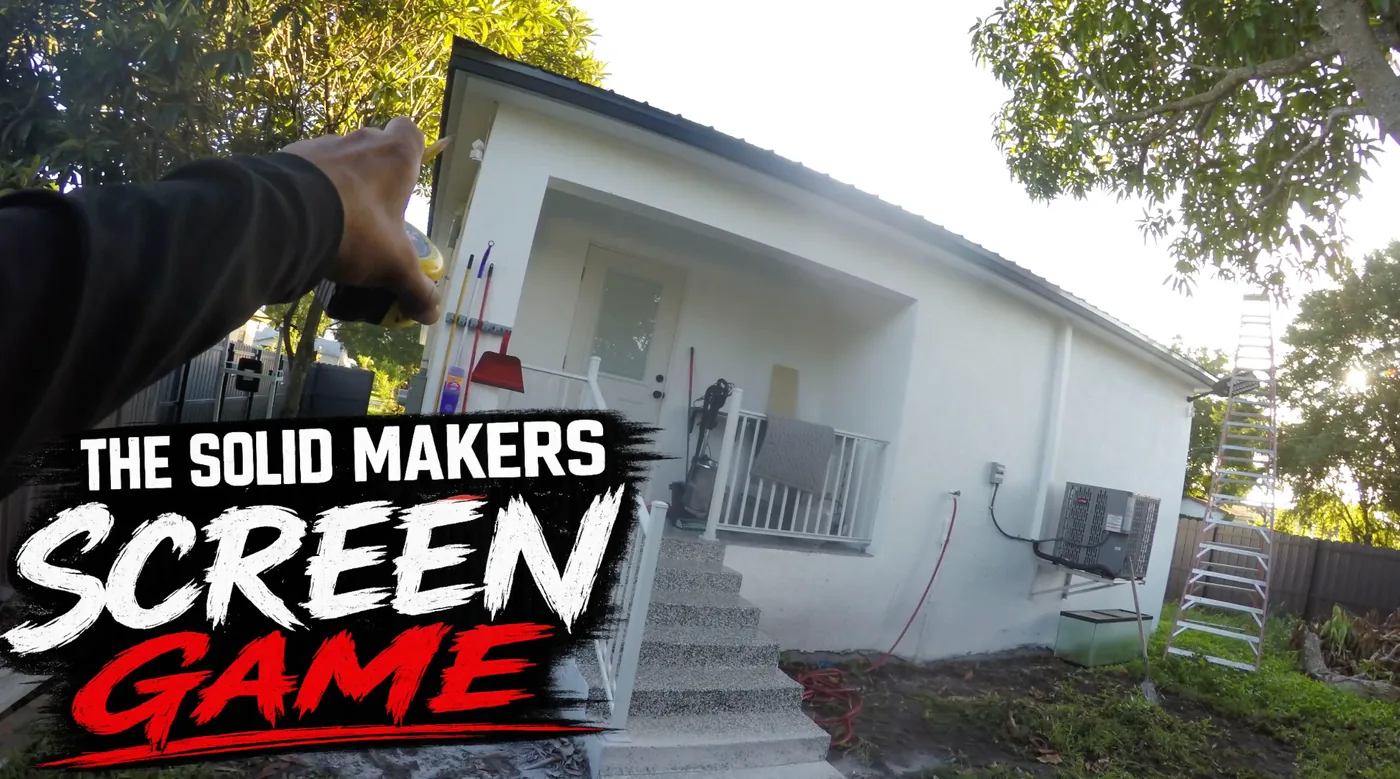
This Clewiston project started as an open area beside the home. The plan was to create a new concrete patio and cover it with an aluminum roof built from insulated panels. Instead of treating the slab and roof as separate jobs, the crew laid everything out with the finished structure in mind from the beginning.
The result is a covered outdoor area that gives the homeowner shade, protection from the weather, and a solid base for future upgrades such as tile, lighting, a ceiling fan, or even screening the area in later.
Starting With the Concrete Slab
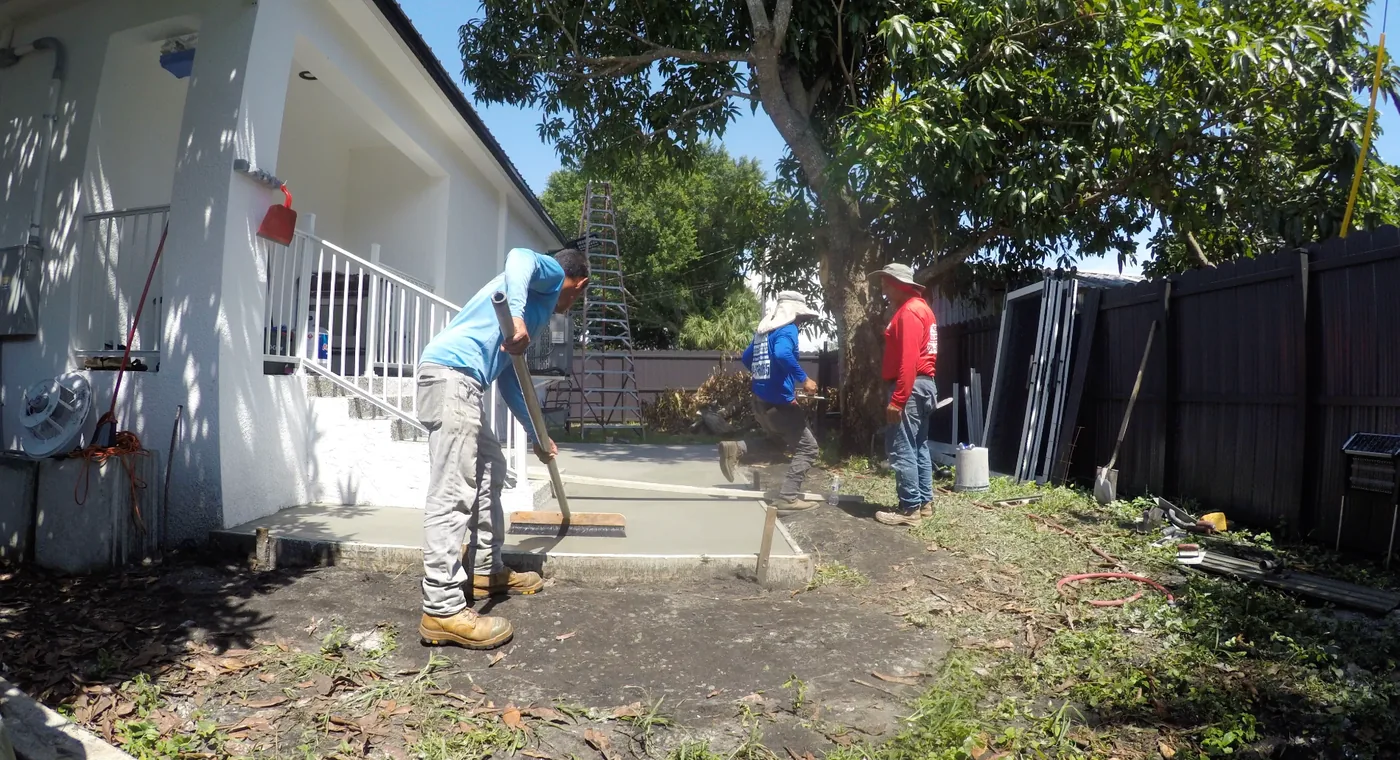
Before the aluminum could go up, the crew had to build the foundation for the patio. The grass was removed, the area was formed, and elevations were established with a Bosch laser, string lines, stakes, and levels. That early layout matters because the finished roof depends on the slab, post locations, and framing all working together.
The concrete truck could not get close to the backyard, so the pour turned into a long wheelbarrow run from the road to the work area. Danny and Little Guy handled the wheelbarrows while Renato worked the concrete at the slab. By the end of the pour, everybody was feeling it, but the job still had to be floated, edged, finished, and cleaned.
Measuring the Header for Insulated Roof Panels
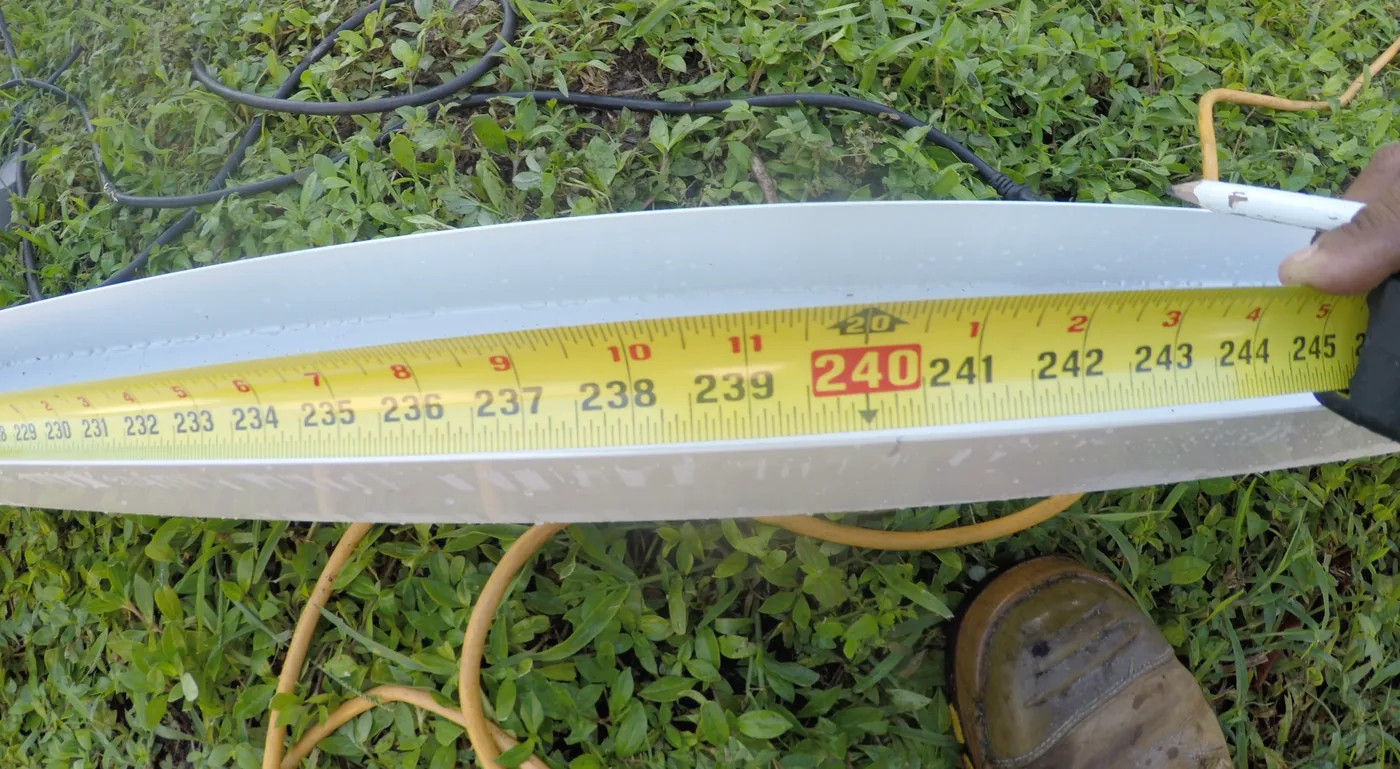
Once the concrete was complete, the crew returned to begin the aluminum roof. One of the key pieces is the header, sometimes called a C-channel, where the insulated roof panels slide into place.
On this build, five 4-foot insulated panels created a nominal 20-foot roof width. Danny allowed a small amount of additional room in the header for each panel so the system could fit together cleanly in the field. That kind of adjustment is easy to overlook on paper, but it comes from installing the same type of roof again and again and understanding how the material actually behaves during assembly.
Building the Aluminum Skeleton
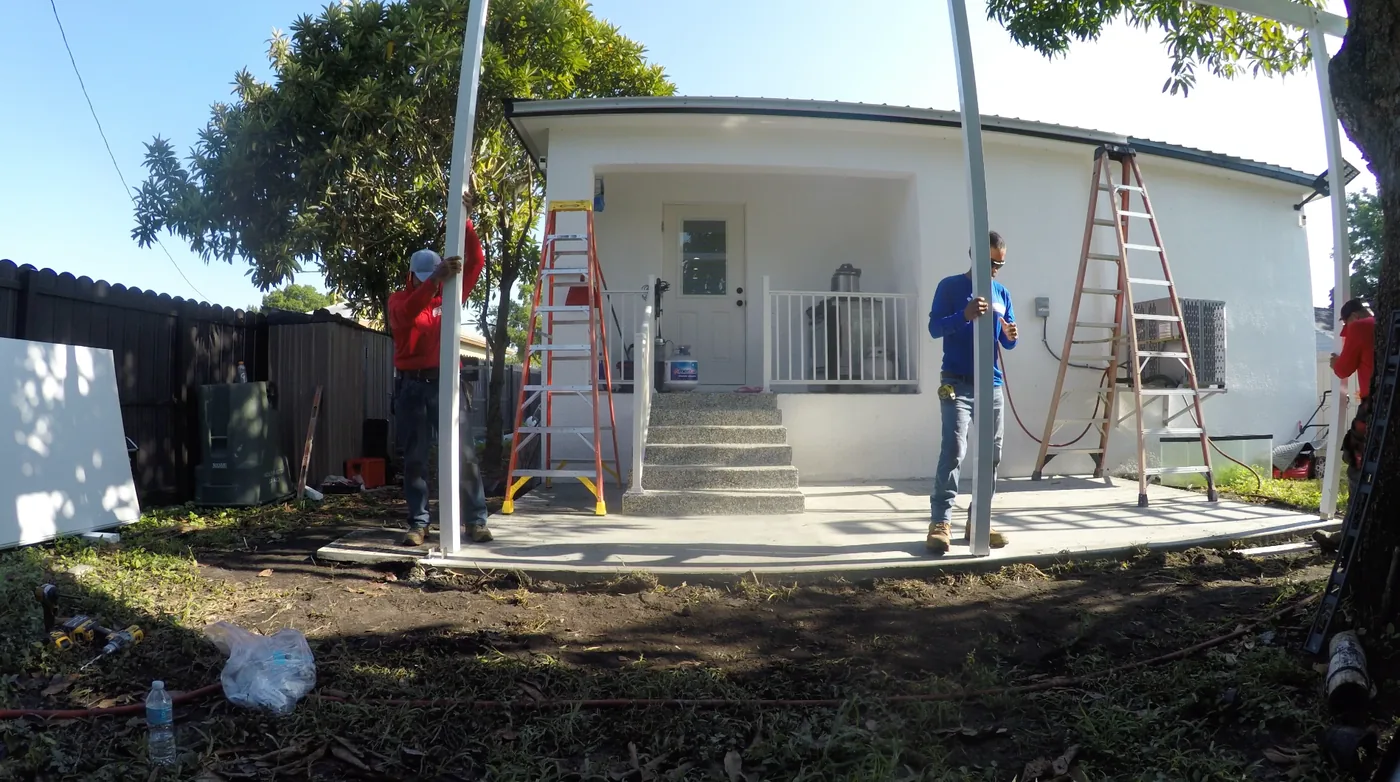
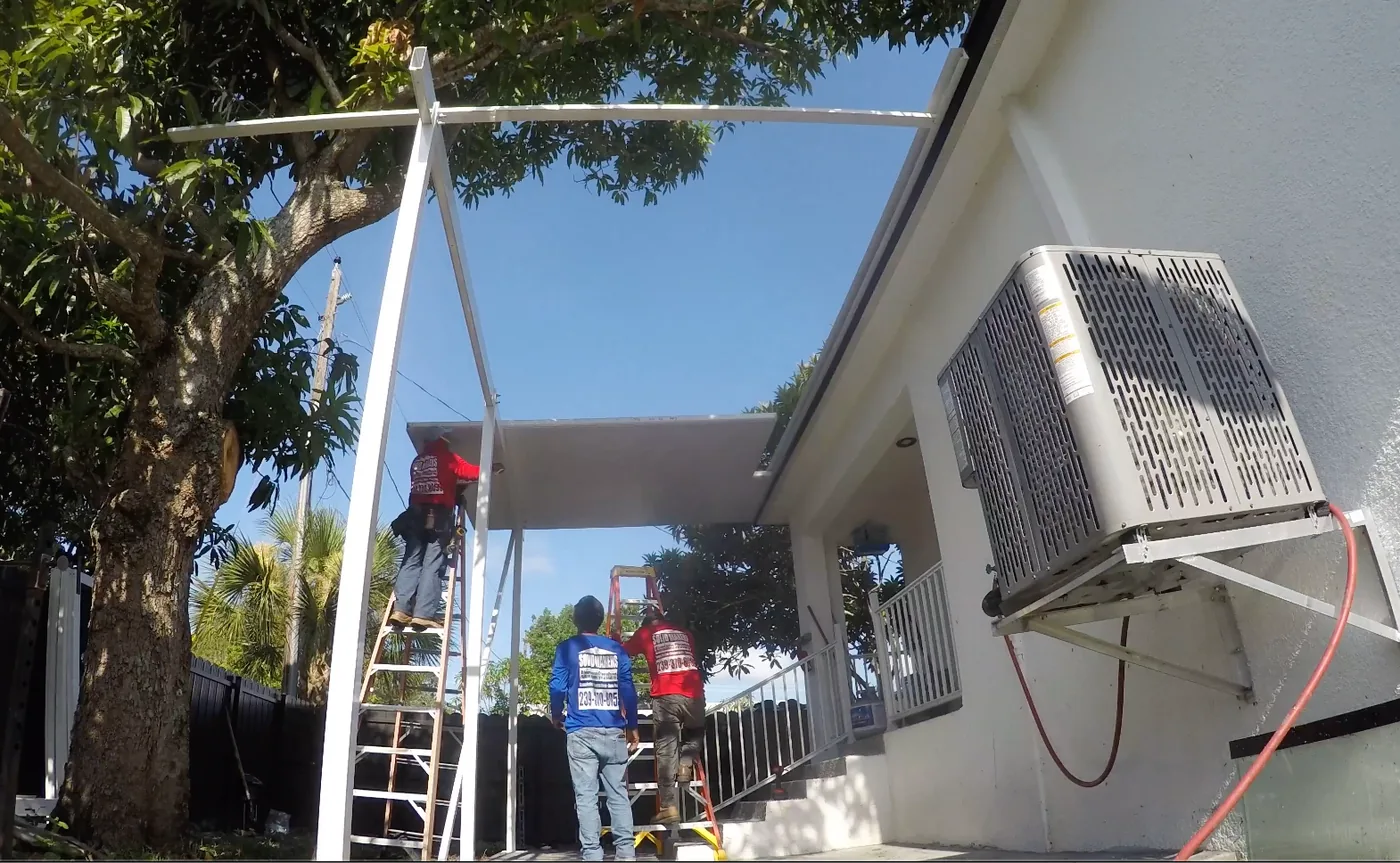
With the measurements established, the posts were marked, squared, notched, and prepared for the beam. Renato assembled the posts and beam with bolts while Danny continued cutting material. Once the frame was together, the three-man crew carried the assembled section from the front of the house to the new slab and stood it in position.
At that point, the aluminum started to look less like separate pieces and more like a structure. Temporary bracing held the frame in position while the crew checked level and prepared for the roof panels.
Installing the Insulated Aluminum Roof
The roof was built with insulated aluminum panels, giving the patio a finished ceiling below while creating a solid weather-resistant roof above. With the frame braced and aligned, the crew worked panel by panel across the structure.
A fan beam and electrical wire were also incorporated into the roof so an electrician could complete the connection later. Planning that detail during construction keeps the homeowner from having to work around a finished roof when adding a ceiling fan or light.
The Finished Patio Roof
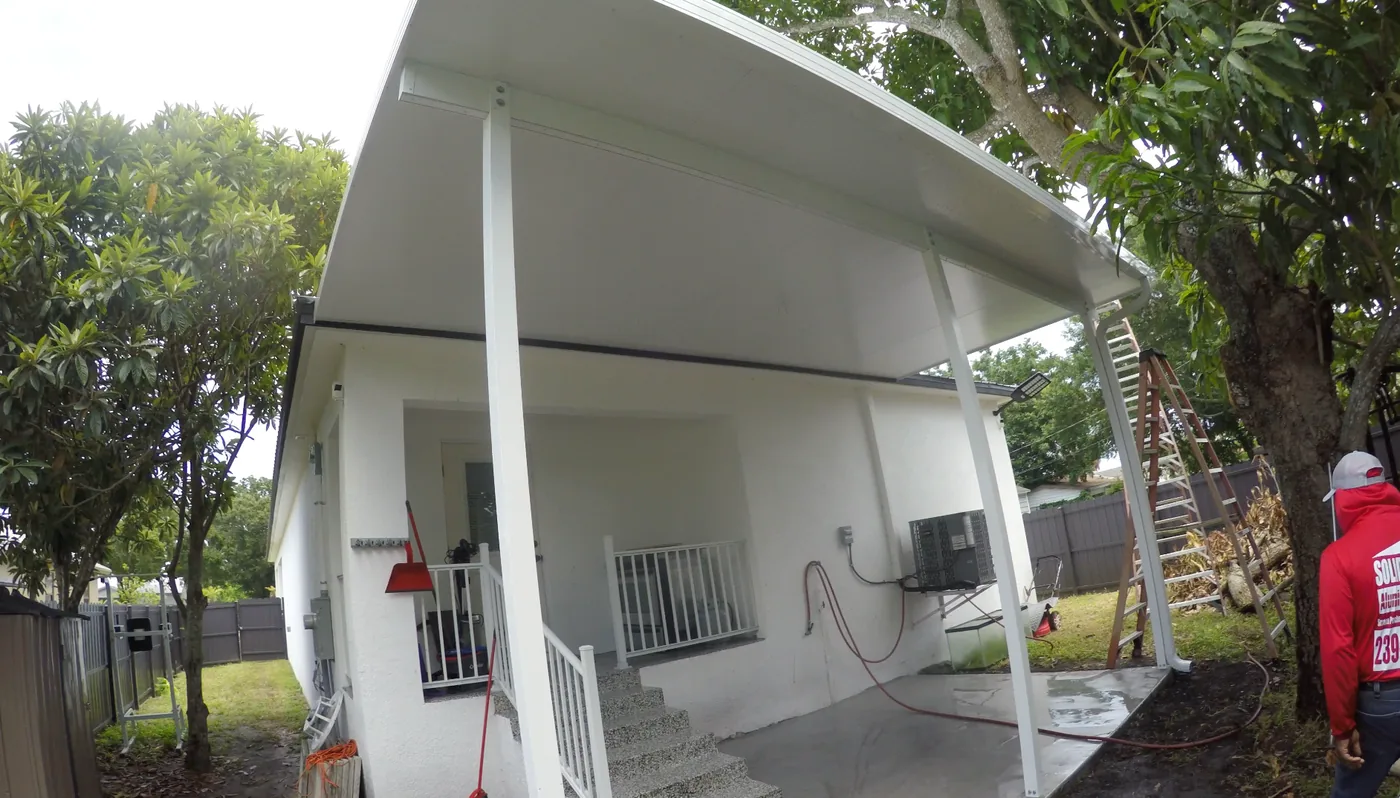
By the end of the project, the homeowner had a new concrete patio and a complete insulated aluminum roof. The slab was cleaned, the aluminum structure was finished, and the roof was ready for the planned electrical connection and future flooring.
This is the kind of project that represents the full range of work behind a finished aluminum porch or patio cover. The visible roof may be the final product, but the quality of the build depends on everything underneath it: the concrete, layout, cuts, post locations, framing, fasteners, and panel installation.
Could This Patio Become a Screen Room Later?
Yes. A covered patio like this can potentially become the starting point for a future screen room or screened lanai, depending on the existing structure, local code requirements, framing layout, and how the homeowner wants to use the space.
Because the roof is already in place, a future enclosure may focus on adding the appropriate aluminum wall framing, screen, doors, and other details needed to create a screened outdoor room. Each project has to be evaluated individually, but building a solid covered patio now can leave the homeowner with more options later.
See more of our screen lanai and screened outdoor living work.
Experience Behind the Build
Solid Makers approaches these projects with decades of hands-on experience passed down through the Luna family. Concrete, aluminum framing, insulated roof panels, and field adjustments are not separate parts of the story. They are skills that have been built job by job over years in the trade.
That experience is what allows a small crew to move from forming concrete to assembling aluminum and installing a finished roof while keeping the entire project working toward the same end result.
Aluminum Patio Roof Questions
What type of roof was installed on this Clewiston patio?
The project used insulated aluminum roof panels supported by an aluminum post-and-beam structure.
Did Solid Makers also pour the concrete patio?
Yes. The project included forming, pouring, finishing, and cleaning the new concrete slab before the aluminum roof structure was installed.
Was the roof prepared for a ceiling fan?
Yes. A fan beam and electrical wiring were incorporated into the insulated roof so an electrician could make the final electrical connection.
Can an aluminum patio roof be screened in later?
In many cases, a covered patio can potentially be converted into a screened lanai or screen room later, but the existing structure, framing, code requirements, and project layout should be evaluated first.
Planning an Aluminum Patio Roof?
Watch the complete project video above, see how the Solid Makers crew builds in the field, and reach out when you are ready to talk about an aluminum patio roof, covered porch, or future screened outdoor space.
Call Solid Makers