
One House, Two Screened Areas
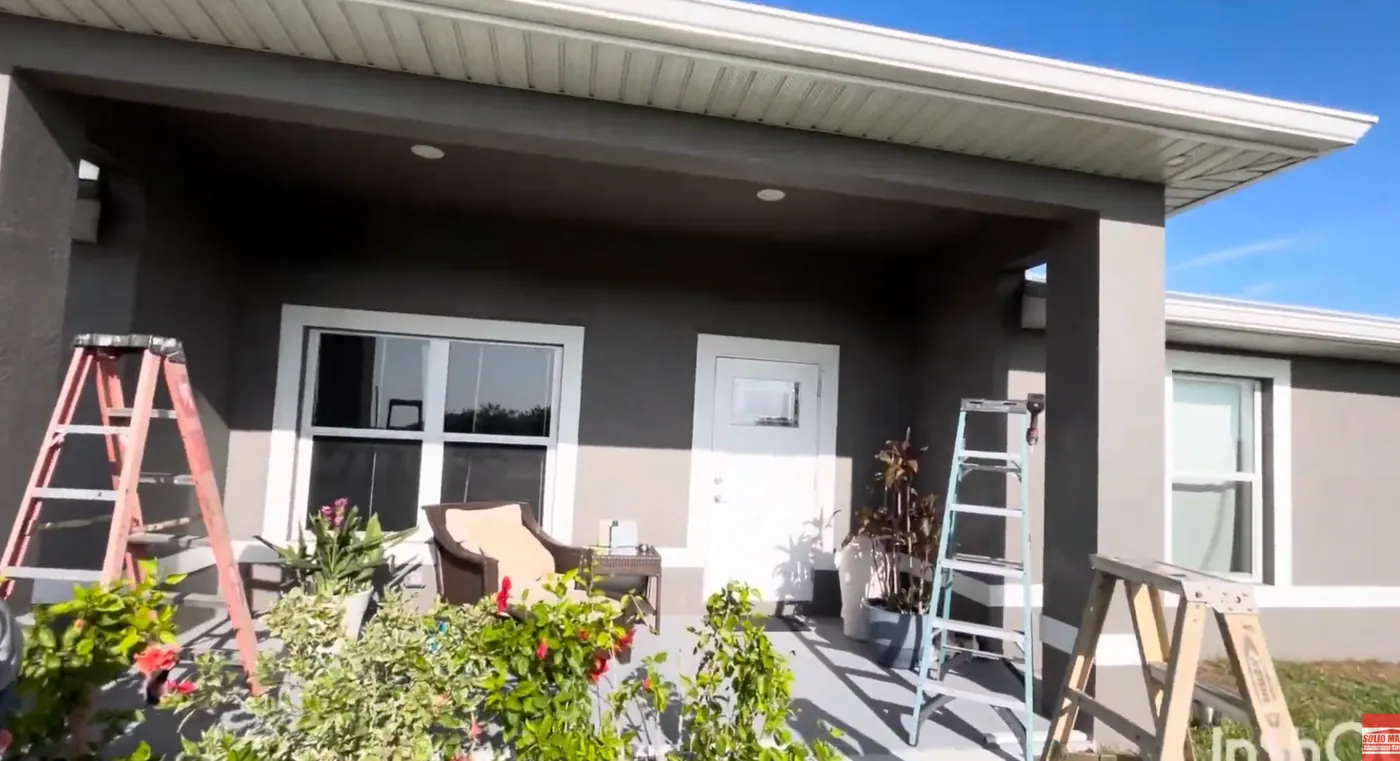
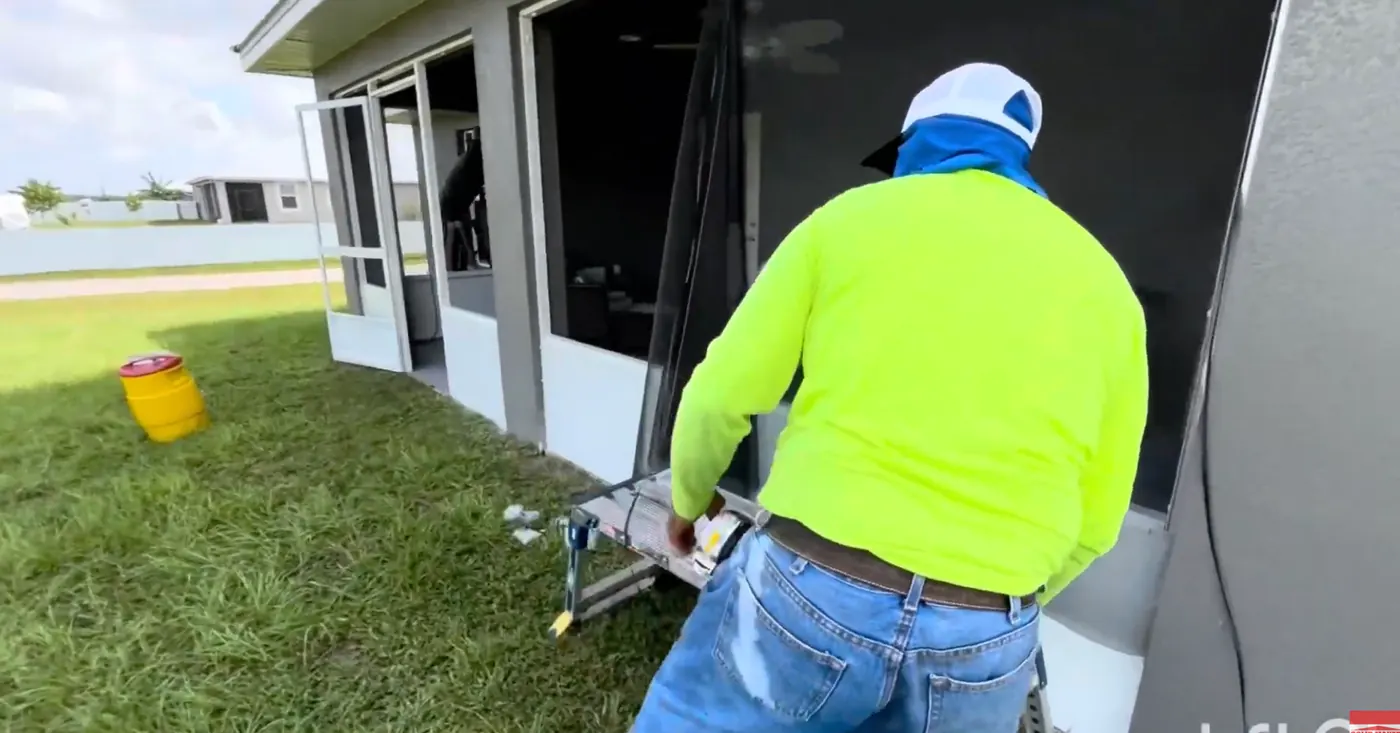
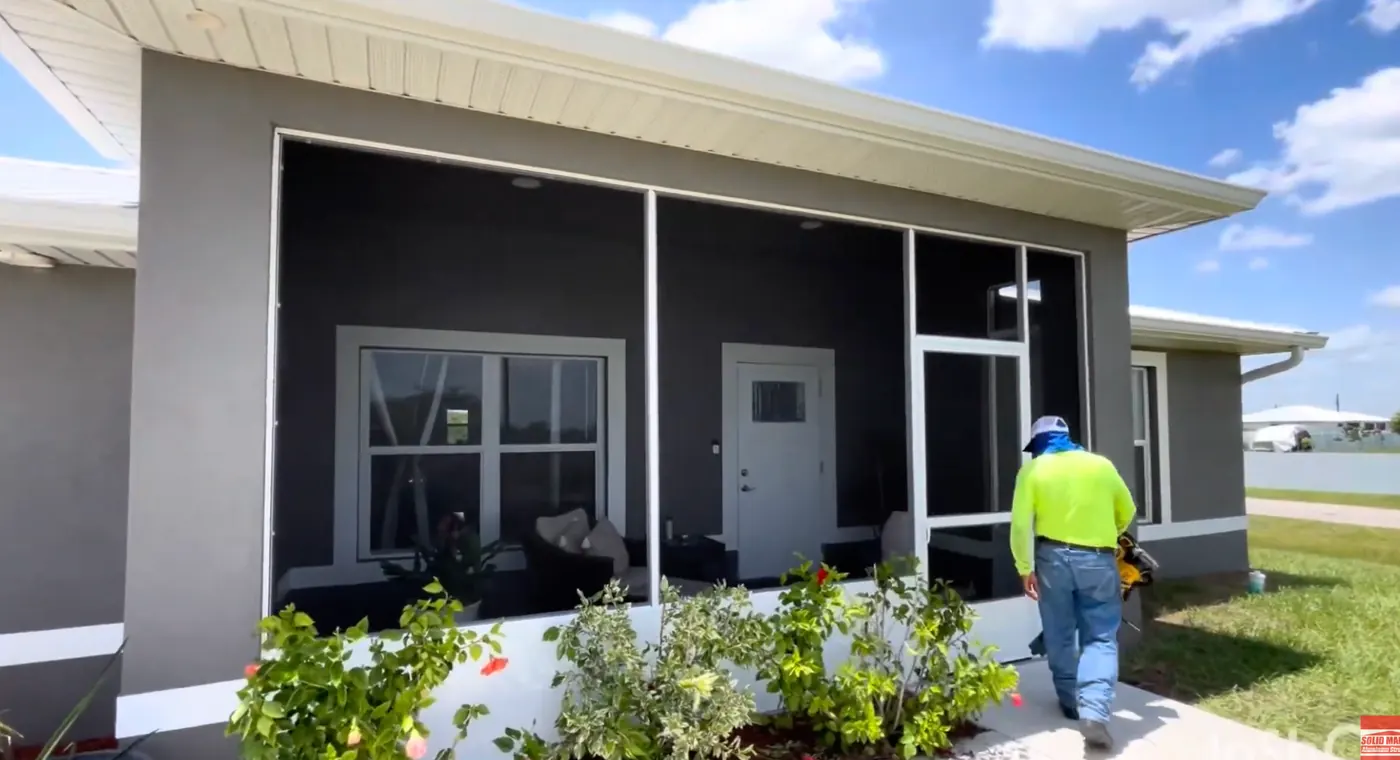
This project was a little different from a straightforward back-lanai enclosure. We were working on both the rear lanai and the front entry area, which meant splitting the crew and keeping two parts of the job moving at the same time. Some of the aluminum had already been cut, so while part of the crew worked on the rear enclosure and kick plate, the front framing started going together.
The finished job needed both areas to look clean and intentional, even though the framing conditions were not identical from one side of the house to the other.
Keeping the Build Moving in Florida Heat
There is nothing staged about a field project like this. The crew is measuring, framing, installing kick plate, rolling screen and trying to stay ahead of the Florida sun at the same time. In the video, everybody is soaked, everybody has an opinion, and somehow the job keeps moving.
That is part of what these Project Spotlights are meant to show. A finished screen enclosure can look simple when all you see is the final picture. The real work is everything happening before that picture: layout, cutting, fitting, fastening, screening, sealing and fixing the little things that come up along the way.
When the Standard Screen Method Does Not Work
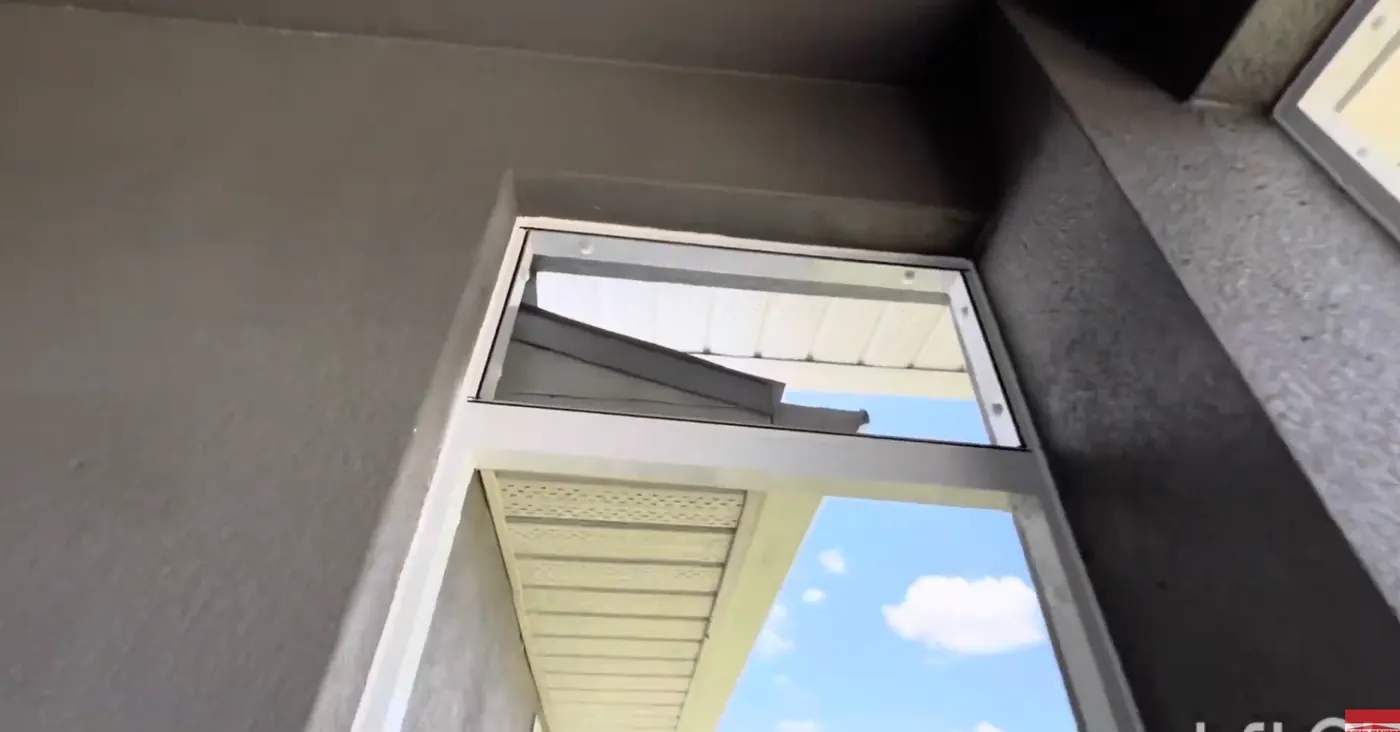
One of the more interesting details on this project was a section near the front where the framing created an access problem. Normally, screen can be installed from the exterior side of the enclosure. Here, that approach would have left us without practical access to roll the screen into place.
Instead of forcing the normal method onto a layout where it did not make sense, we framed that section so the screen could be installed from the inside. The finished enclosure still reads as one clean system, but the installation method changes where the conditions require it.
Sealing the Enclosure
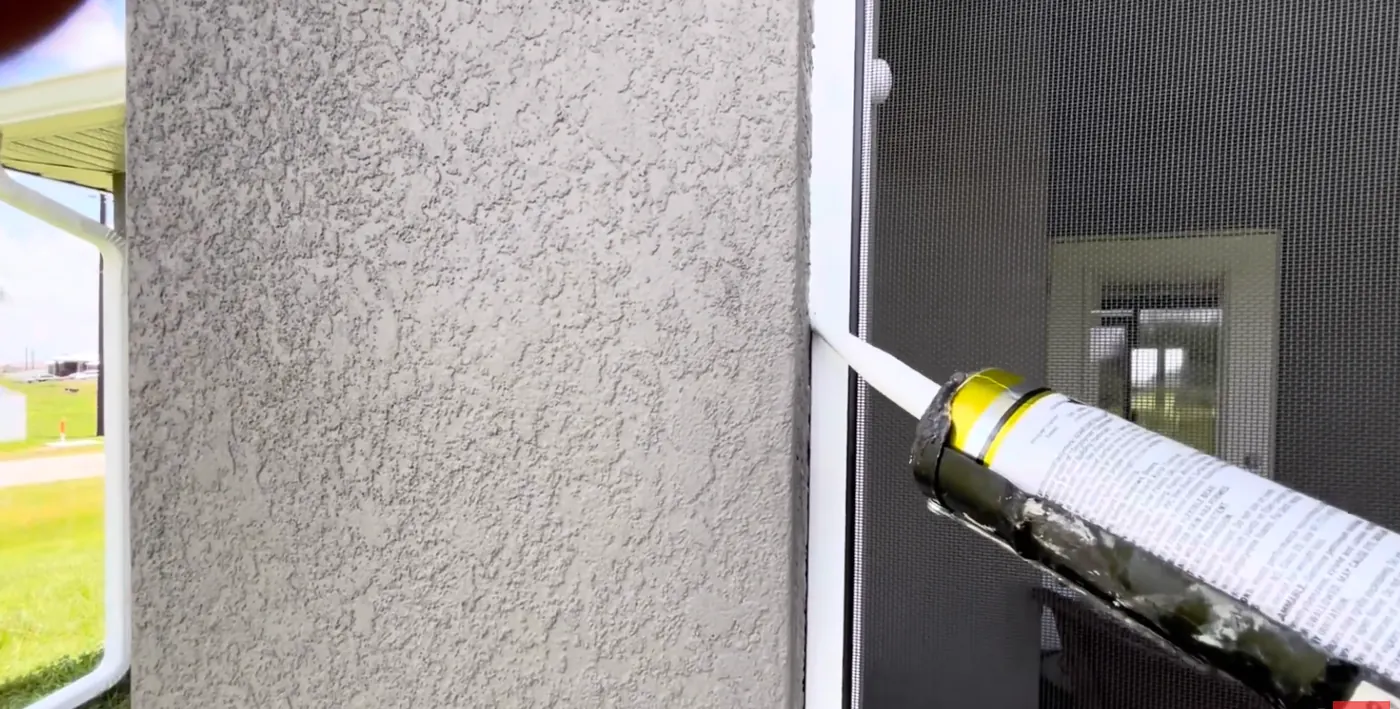
Once the framing and screen were in place, the next step was sealing the enclosure. On this job we used Solar Seal and sealed both the inside and outside where needed. This is one of those finishing steps that does not get much attention in a finished photo, but it matters to the overall quality of the installation.
The trick is not complicated: slow down, find a steady rhythm and leave a clean bead. Rushing through the finish work is an easy way to make good framing look sloppy.
The Finished Front and Rear Lanais
By the end of the day, both screened areas were complete. The rear lanai was enclosed and finished, and the front section came together with the custom inside-screen detail blending into the rest of the enclosure.
That is the part homeowners ultimately see: straight framing, tight screen, clean edges and a finished space that looks like it belongs with the house. Everything else — the heat, the adjustments, the crew competition and the jokes — becomes part of the story behind it.
Experience Shows Up in the Adjustments
Every screen lanai has the same basic ingredients: aluminum, screen, fasteners and a door or opening. What separates one installation from another is what happens when the house does not hand you a perfectly simple layout.
Solid Makers has decades of family experience in aluminum and screen enclosure work. On projects like this one, that experience is less about making a speech and more about recognizing a problem, changing the approach and continuing the build without turning a small field condition into a big problem.
Planning a Screen Lanai in LaBelle or Banyan Village?
If you are thinking about screening a lanai, porch or entry area around LaBelle, the layout of the existing structure matters just as much as the size. Door placement, framing conditions, screen access and how you plan to use the space can all affect the best way to build it.
Learn more about our screen lanai services in the LaBelle area or contact Solid Makers to talk through your project.
Screen Lanai Questions
Where was this screen lanai project?
This project was in Banyan Village near LaBelle, Florida.
Did you screen both the front and back of the house?
Yes. The project included screened areas at both the rear lanai and the front entry side of the home.
Why was part of the screen installed from the inside?
The framing and access in one front section made the usual exterior installation impractical, so that area was framed to allow the screen to be installed from the interior side.
What did you use to seal the enclosure?
Solar Seal was used during the finishing stage, including sealing areas from both the inside and outside where needed.
Want a Screen Lanai Built the Solid Makers Way?
See more of our screen lanai work, watch the full project video above, and reach out when you are ready to talk about your own enclosure.
View Screen Lanai Services